
Fitting guide
Installation Instructions
- Required items
- Power screw driver
- Screws
- Tape measure
- Electric or hand saw
- Level
- PU-compatible adhesive

Illustrative animation of the fitting steps.
-
Step 1
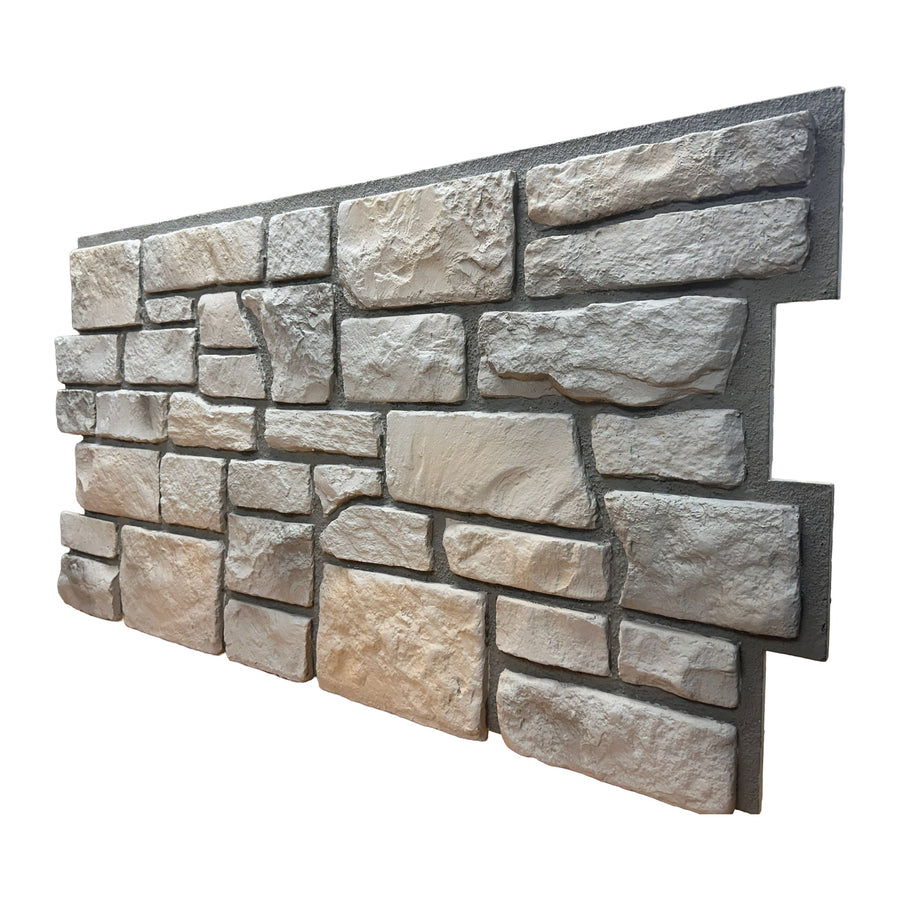
Storage of Panels
- Tritan BP Cladding should be acclimatised for 24 hours prior to installation. If the cladding panels have been stored in a cool climate or at room temperature, they can be installed immediately.
- Cladding panels should be stored flat to prevent bowing. If in the unlikely event bowing occurs, place the panels flat and they will self-correct.
-
Step 2
Installing Faux Cladding
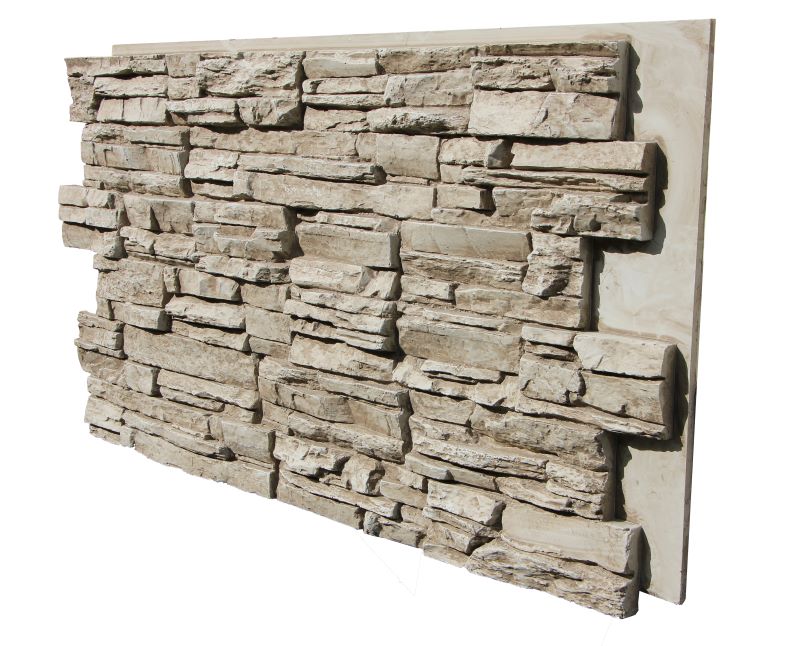
- The top of the panel has a protruding lip that will fit behind the panel that is being stacked on top.
- Due to the panels being highly textured, it is recommended that all measurements be marked and cut on the flat backside o the panel.
- Tritan BP Cladding panels interlock at each end and along the top/bottom. This helps to provide a virtually seamless look. In many cases, the first panel must have one side of the "fingers" trimmed off to create a straight edge.
- Panels should be installed onto a clean flat dry surface.
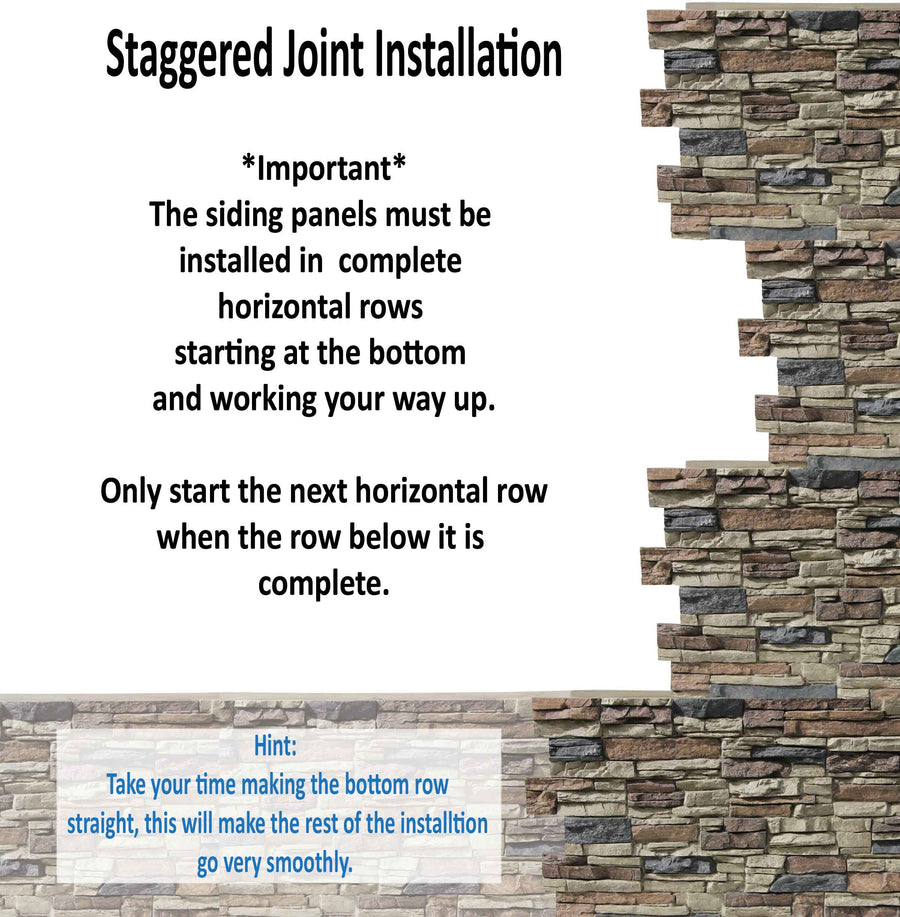
- The faux cladding should be installed from the bottom corner in a straight line. Each panel should be pressed firmly and tightly against one another for best results. It is very important that the first row of panels be installed level and straight for best outcomes. Always install the panels in full rows working your way up. The horizontal row must be installed before going vertically up. If the floor is not perfectly straight, the bottom of the panel may need to be slightly trimmed to ensure a straight and level installation.
- When installing the cladding, we recommend staggering the first panel. As shown in the image here.
-
Step 3
- Apply a generous amount of PU-compatible construction adhesive to each panel. We recommend CT1 construction adhesive, Sikaflex-11 FC+ or a PU-compatible gap-filling foam (check the manufacturer's data sheet) as the adhesive of choice. Important: our panels are polyurethane (PU), so every adhesive, sealant, foam and filler you use must be PU compatible (solvent-free, with no solvents that can attack PU). Always check the manufacturer's data sheet before you buy. Press the panel firmly onto the mounting surface and screw the panel into place — we recommend PU-compatible construction adhesive and screws together.
- We recommend using Masonry screws if installing onto concrete block.
- Screw / Nails should be installed along the tongue along with other unnoticeable places. If you need to further conceal a hole, simply apply a little wood filler to the screw hole and once dry, apply a little touch up stain.
- Once the first panel is in place, repeat the processes above ensuring that each panel fits tightly and straight against one another.
- Panels can be mitred on a table saw, we recommend using a blade with 80 teeth or greater when using a circular saw to but the panels.
- Accessories such as, ledge trims, sockets and external corners, socket covers and more, make for an easy installation.
- Approximate adhesive needed - 4 Panels = 1 Tube of CT1 construction adhesive
-
Step 4
Touch Up Instructions
- If needed, fill screw/nail holes, mitre joints or other openings with wood filler or Two-part filler. Use a PU-compatible, solvent-free filler. Allow for the wood filler or two-part filler to completely dry before moving to the next step.
- The colour of your panels will determine the number of touch-up bottles you receive in the touch up kit. Some of the paint bottles received may not be needed during your repair.
- To achieve a proper colour match, ensure that the paint container lids are sealed and shake thoroughly.
- Using a brush, apply the appropriate touch-up paint to the area of the panel needed to be touched up. Let it sit for 20 seconds.
- After 20 seconds, wipe lightly with a rag until you achieve the desired effect. Allow the paint to completely dry. This is a water-based paint and dry time can differ based on temperature and air flow.
Tips to keep in mind:
- Do not apply over existing paint, only area that needs to be touched up as this can cause the area to darken.
- Make sure your brush is clean and dry when switching between different paints to avoid contamination.
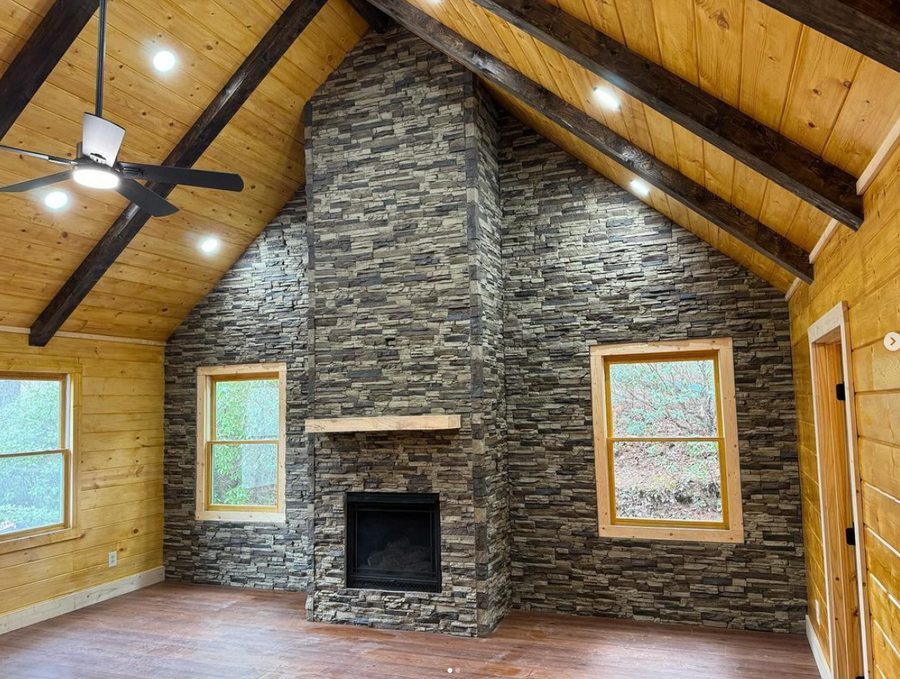
Now, sit back, relax and enjoy your creation!
Ready to start?
Work out how many panels you need, then pick a colour.